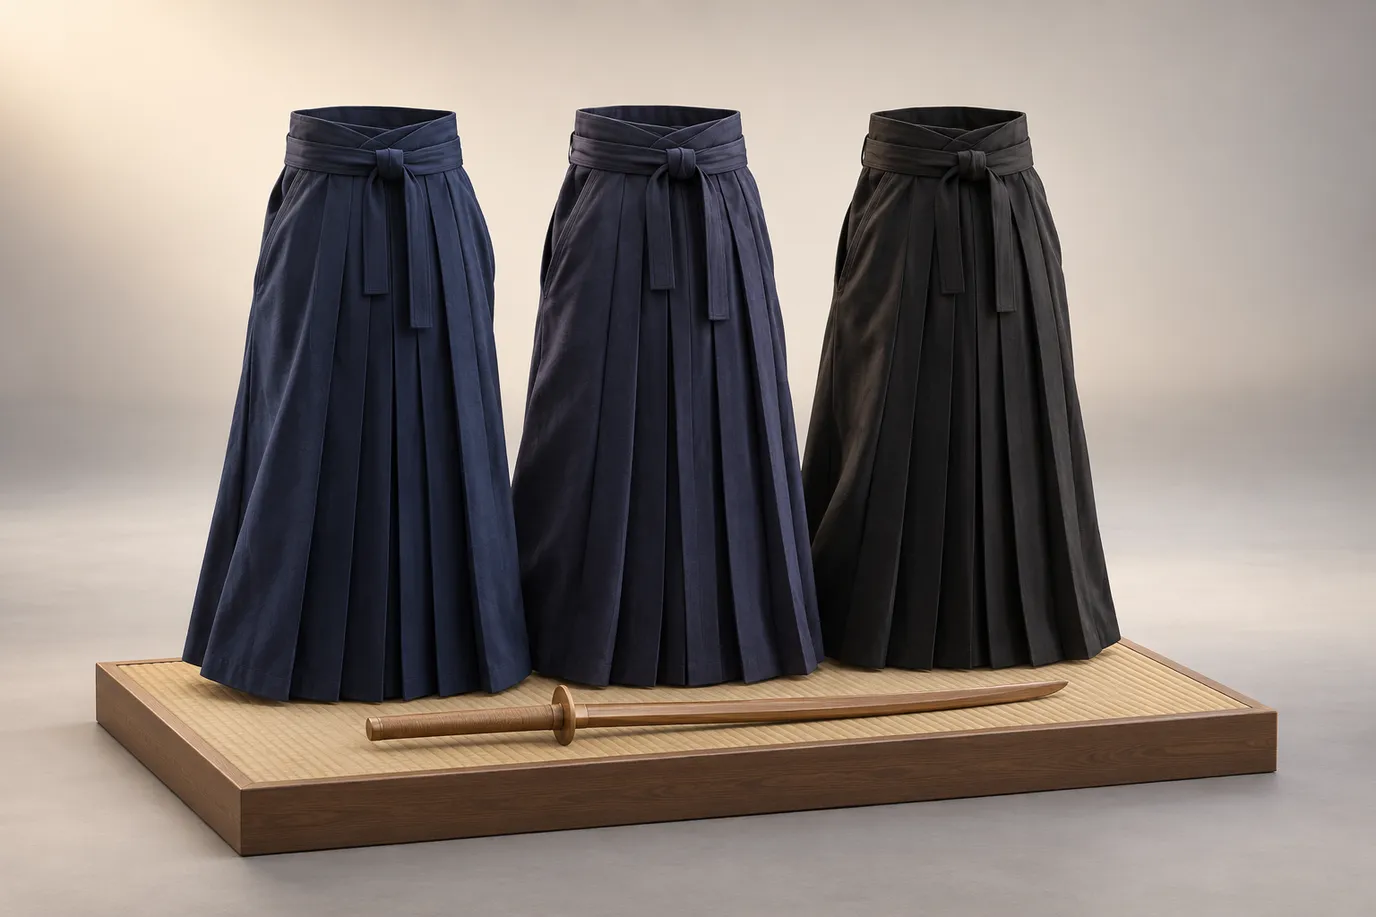

To wear a hakama, put on the jacket and belt first, step into the hakama and hold the front panel at your waist. Wrap the long front ties around the back, cross them, and tie them. Then seat the back board above the belt knot and tie the back ties in front. This guide to how to wear a hakama covers the order of dressing, the ties and the usual mistakes.
Key Takeaways
- Jacket and belt first: Always put on your keikogi and obi before the hakama.
- Front ties go on first: The long front ties are wrapped around the back and tied first.
- Back board placement: The koshiita sits against the small of the back on top of the belt knot.
- Back ties last: The shorter back ties are brought forward and tied at the front.
- Hem length: The hem of a practice hakama usually falls around the ankle bone.
- Folding: Fold along the existing pleats after every wear to maintain their shape.
What to have on before the hakama goes on
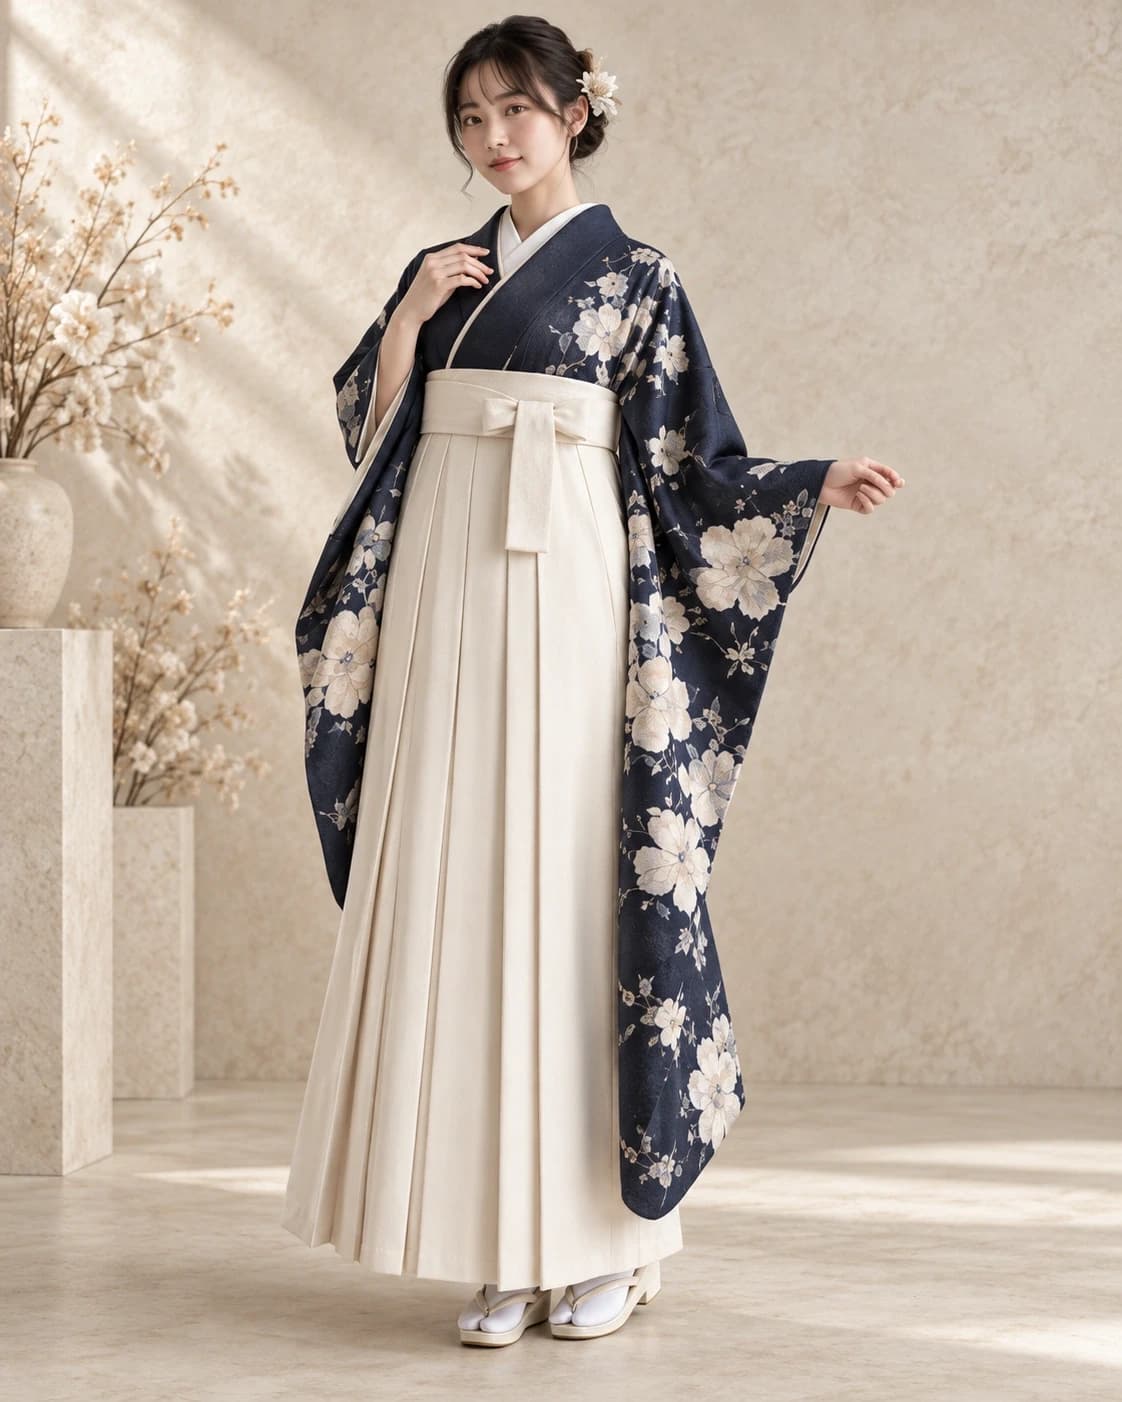
Before you put on a hakama, it's essential to have the right base layers in place. Start by putting on your keikogi, the training jacket, and securing it with an obi, a wide belt or sash. The keikogi should fit snugly but comfortably, and the obi should be tied securely around your waist, ensuring it is neither too tight nor too loose. This foundational layer provides the necessary support and structure for the hakama, ensuring it sits correctly and remains in place during movement. For formal dress, the layers are a kimono and a narrow obi, with the obi knot at the back giving the back board something to rest on.
Before stepping into the hakama, smooth the jacket flat at the back so nothing bunches under the back board. Lay the hakama out and untangle the four ties. Make sure the long front pair and the shorter back pair are easy to find. A minute of preparation saves retying.
The parts you will handle: front panel, back board and four ties
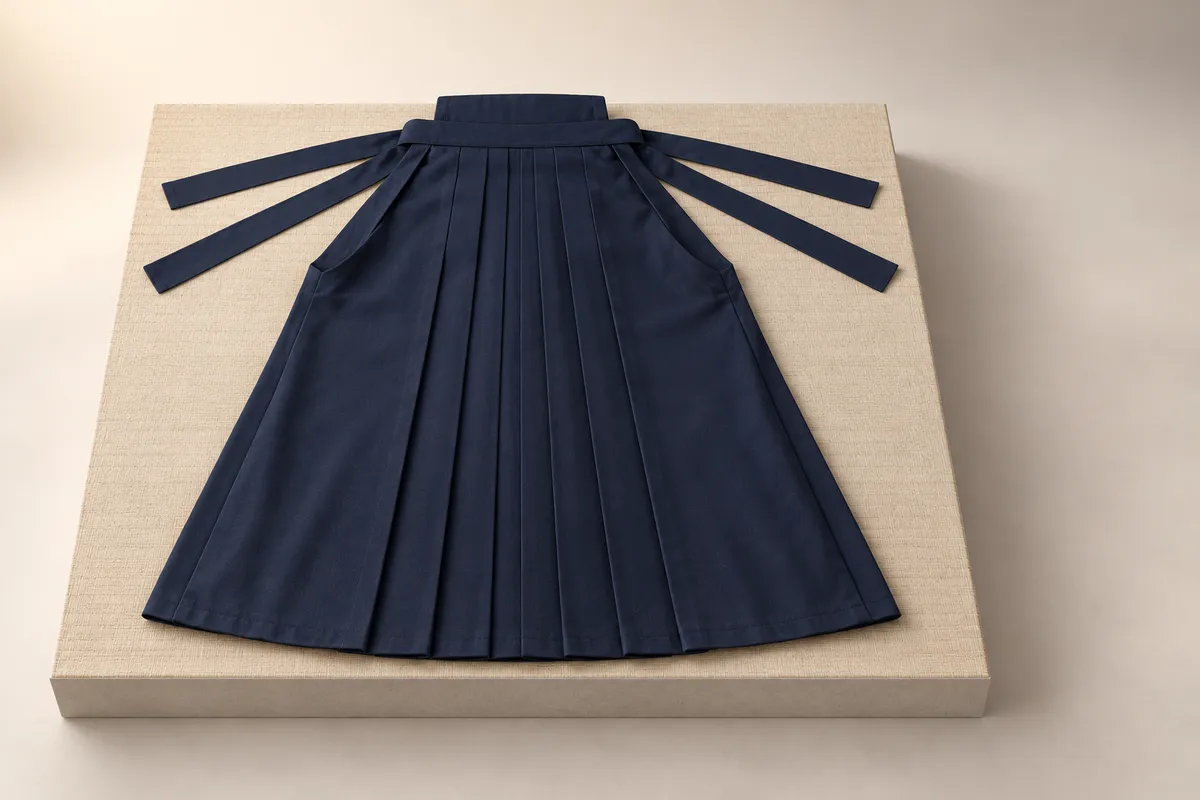
Before the first attempt, learn the pieces you will handle; the site guide shows the parts of a hakama in more detail. The front panel is the visible part of the hakama that covers the front of your body and typically has five pleats. The back board, known as the koshiita, is a stiff piece built into the back waist of the hakama that helps it sit securely, and the back panel below it commonly has two pleats. The hakama also has four ties, or himo: two long ties at the front and two shorter ties at the back, attached beside the koshiita. Many hakama also have a small tab on the inside of the koshiita that tucks behind the belt.
Step by step: putting on a hakama
- Step into the hakama: Stand with your feet about shoulder-width apart. Step into the hakama, ensuring the front panel is facing forward. Hold the front panel so its top edge sits at the belt line.
- Take the long front ties around to the back: Take the long front ties and wrap them around your back. Cross them over the belt knot.
- Bring them forward again: Bring the front ties forward again, cross them low at the front under the top edge of the front panel, and take them to the back once more.
- Tie the front ties at the back: Tie the front ties at the back, on or just under the belt knot.
- Lift the back panel: Lift the back panel, tuck the small tab behind the belt if the hakama has one, and seat the koshiita against the small of the back on top of the knot.
- Bring the back ties forward: Bring the back ties forward and knot them at the front over the front ties. The knot style depends on your school.
- Tuck the loose ends: Tuck the loose ends, check that the pleats hang straight, and that the hem is level.
What varies by school or occasion
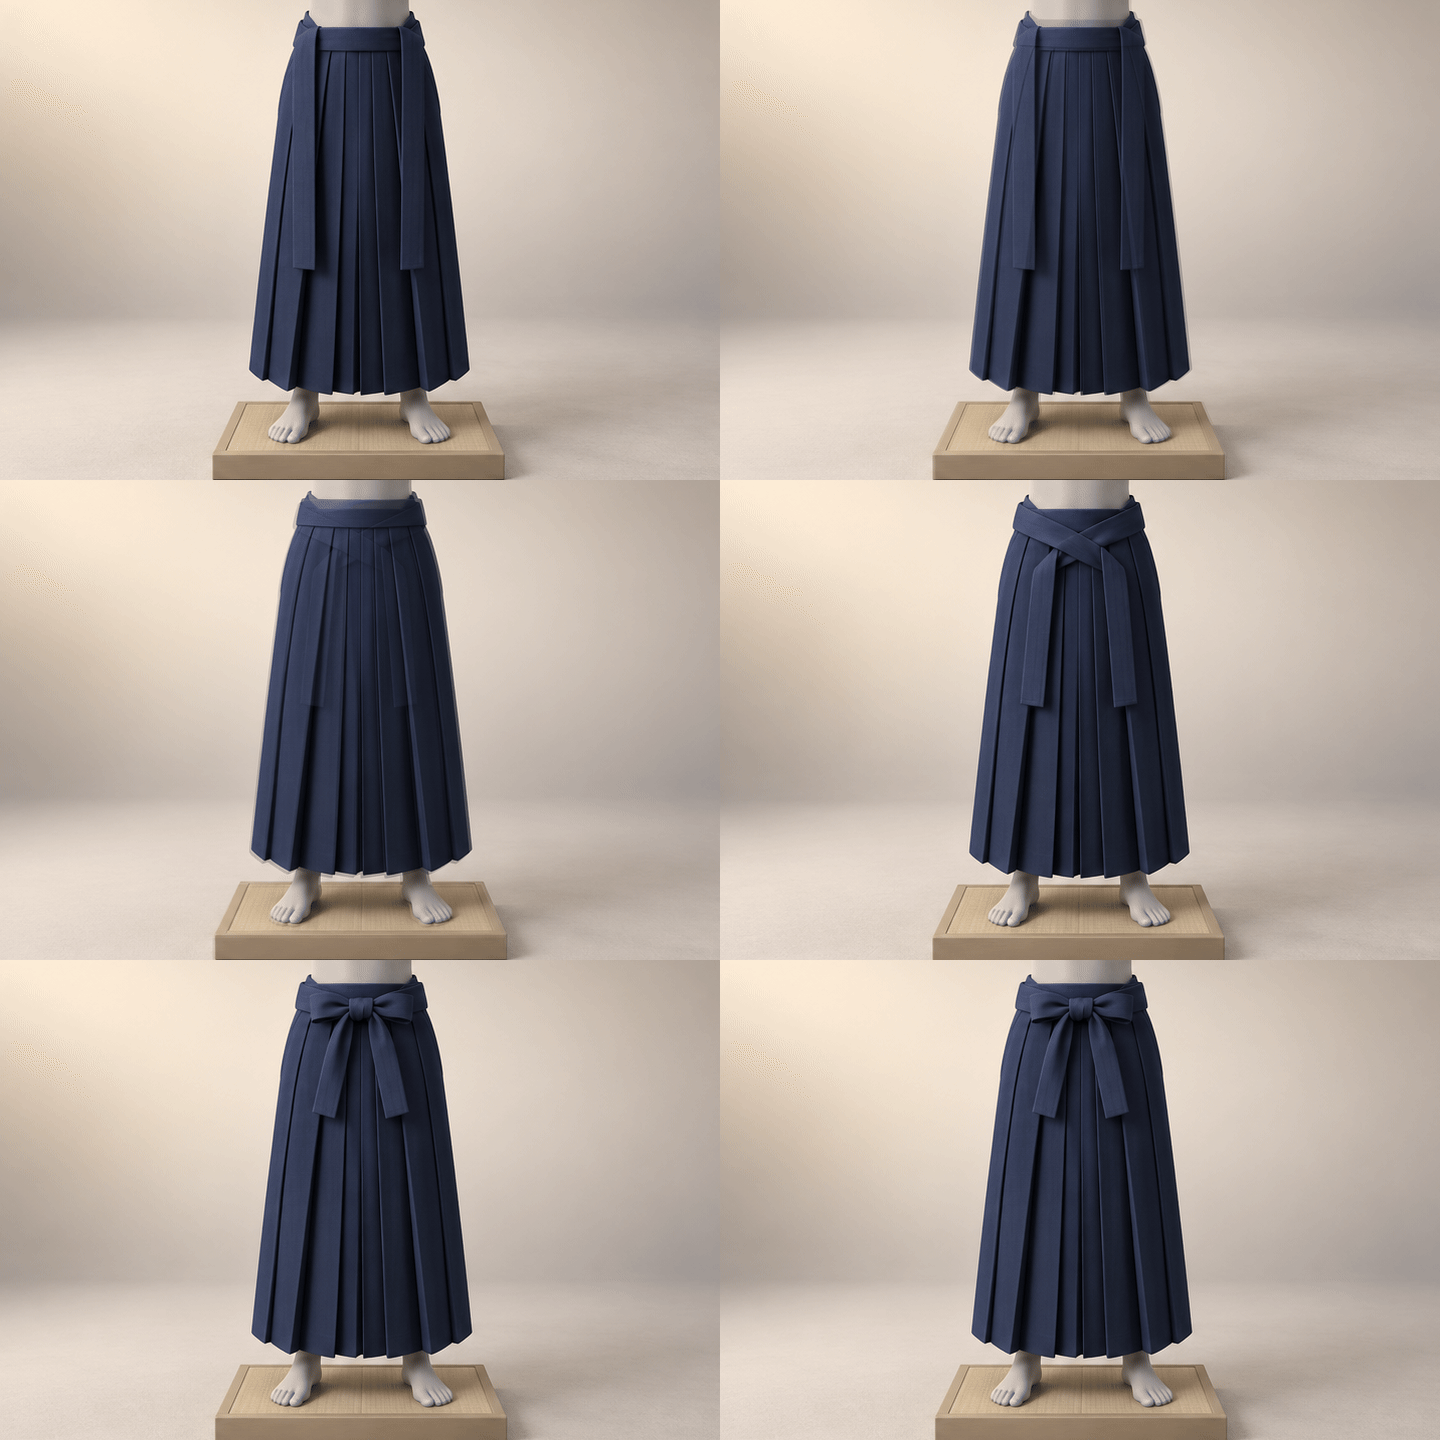
While the basic steps to put on a hakama are consistent, some details may vary by school or occasion. The hem of a practice hakama commonly falls around the ankle bone, though some schools wear it a little shorter. Formal dress has its own conventions, and knot styles can vary, including a flat square knot, a bow, or a formal cross-shaped knot. Some kendo and iaido groups teach a specific foot to step in with first, but this can vary by school. The designs grouped under martial arts hakama are where most students start looking, and the dojo's own rule still decides the details.
Divided-leg, skirt-style and modern hakama pants: what changes
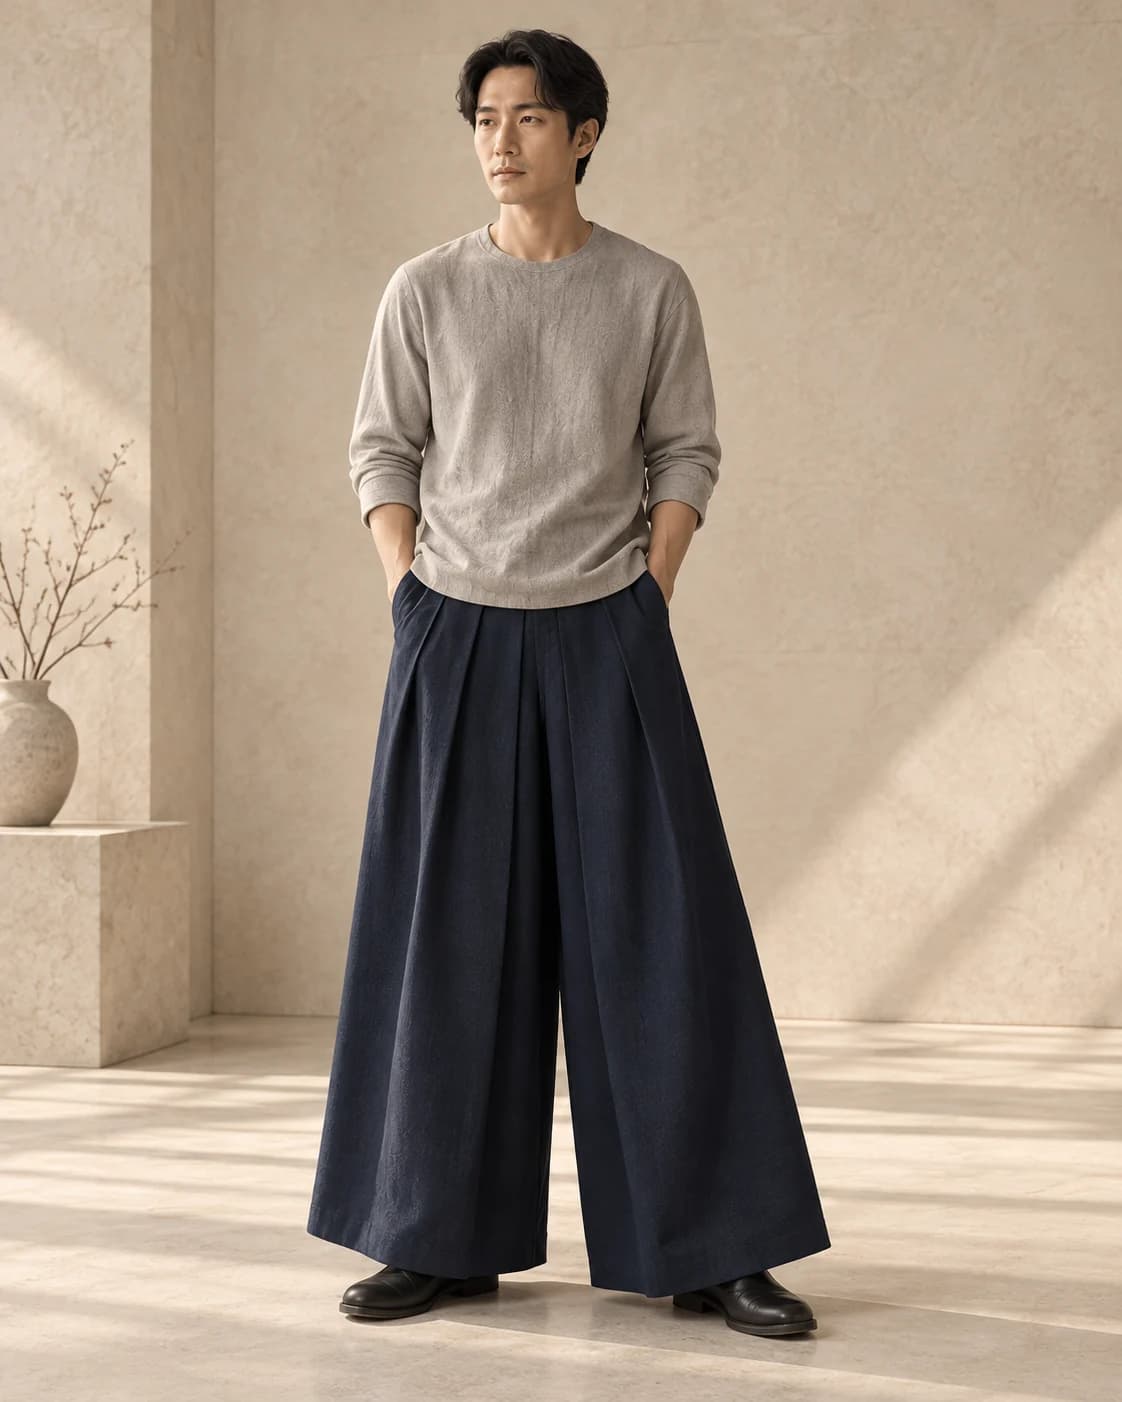
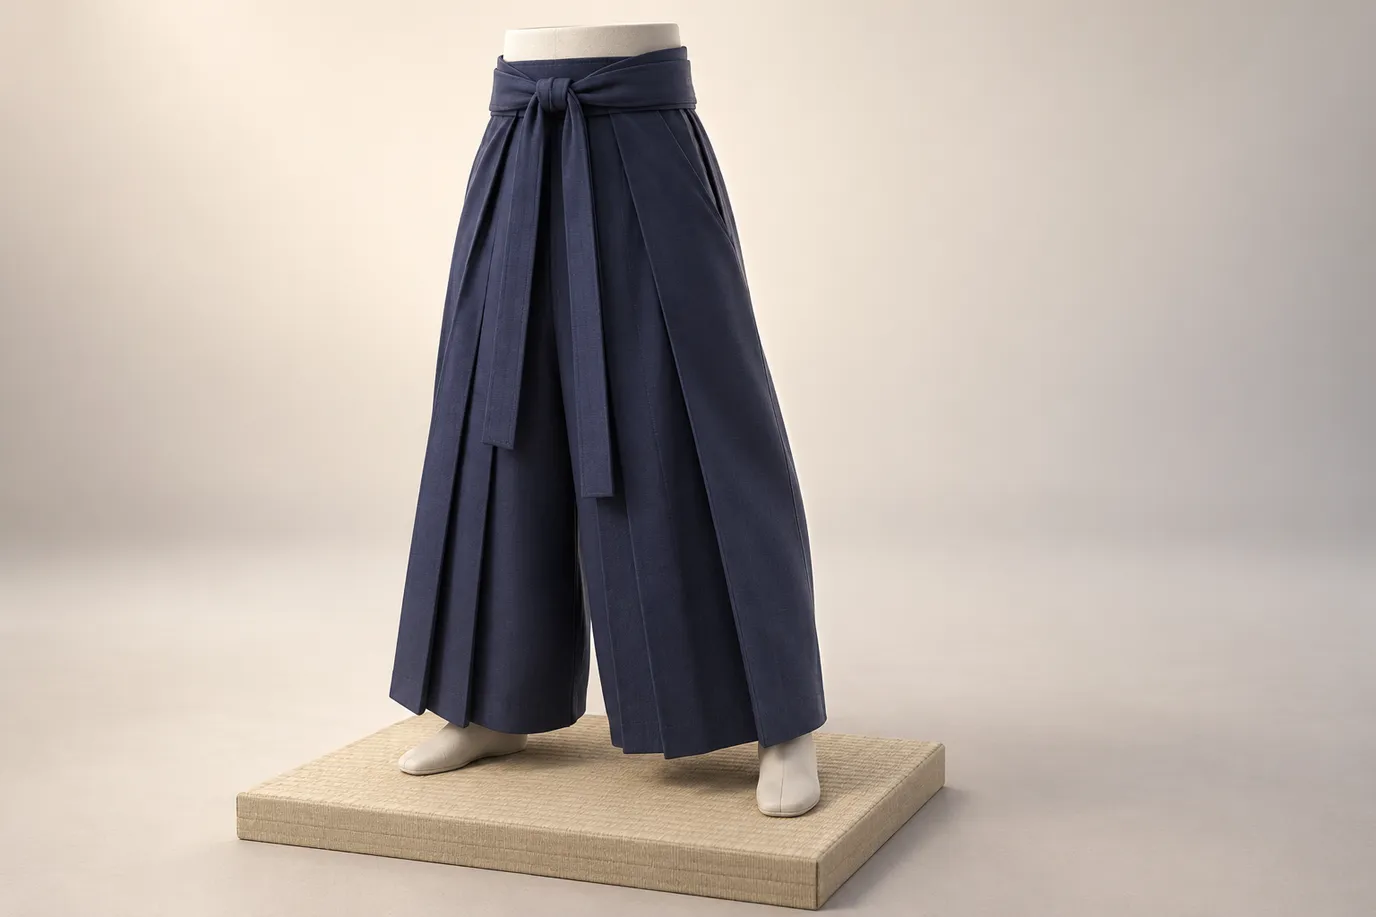
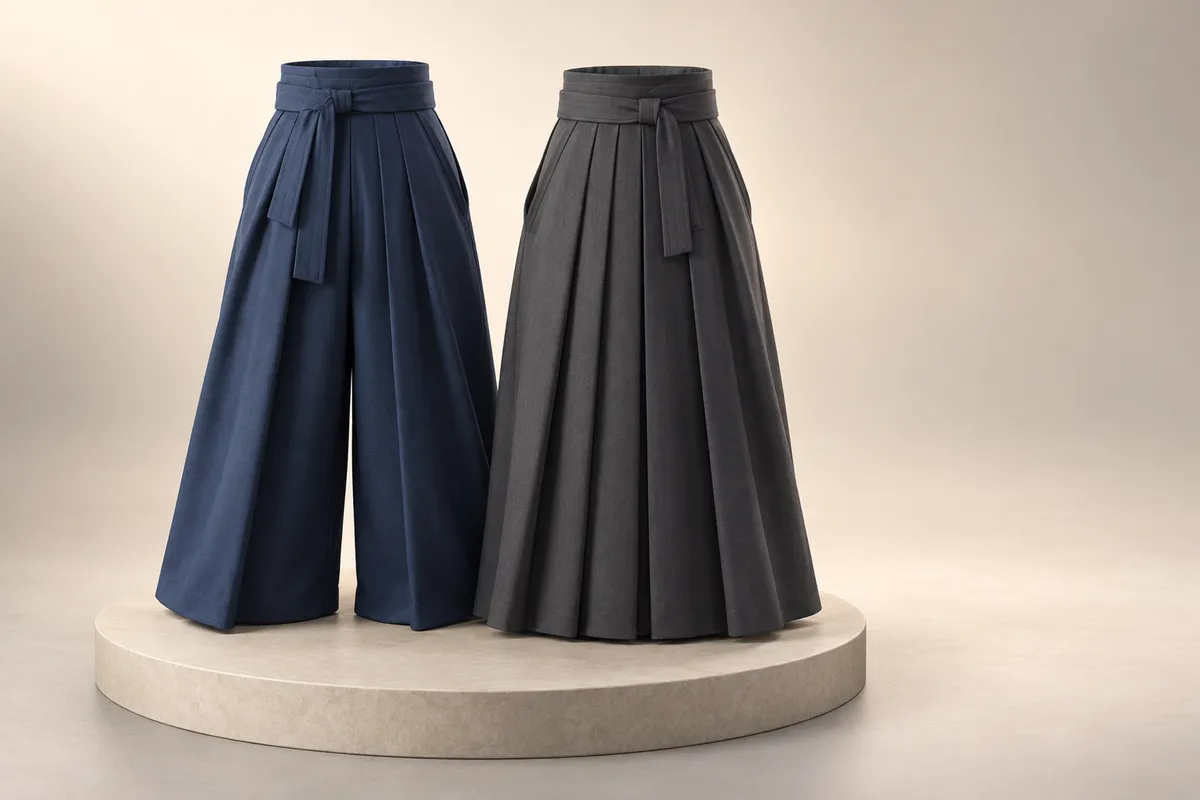
The umanori, or divided-leg hakama, is characterized by its separate leg openings, making it resemble very wide trousers. Step one leg into each side, ensuring the front panel is facing forward, and follow the general steps for tying the ties. Hakama Pant lists an Umanori Divided-Leg Hakama in deep navy, a traditional-style divided-leg silhouette with a tie waistband and measured pleats.
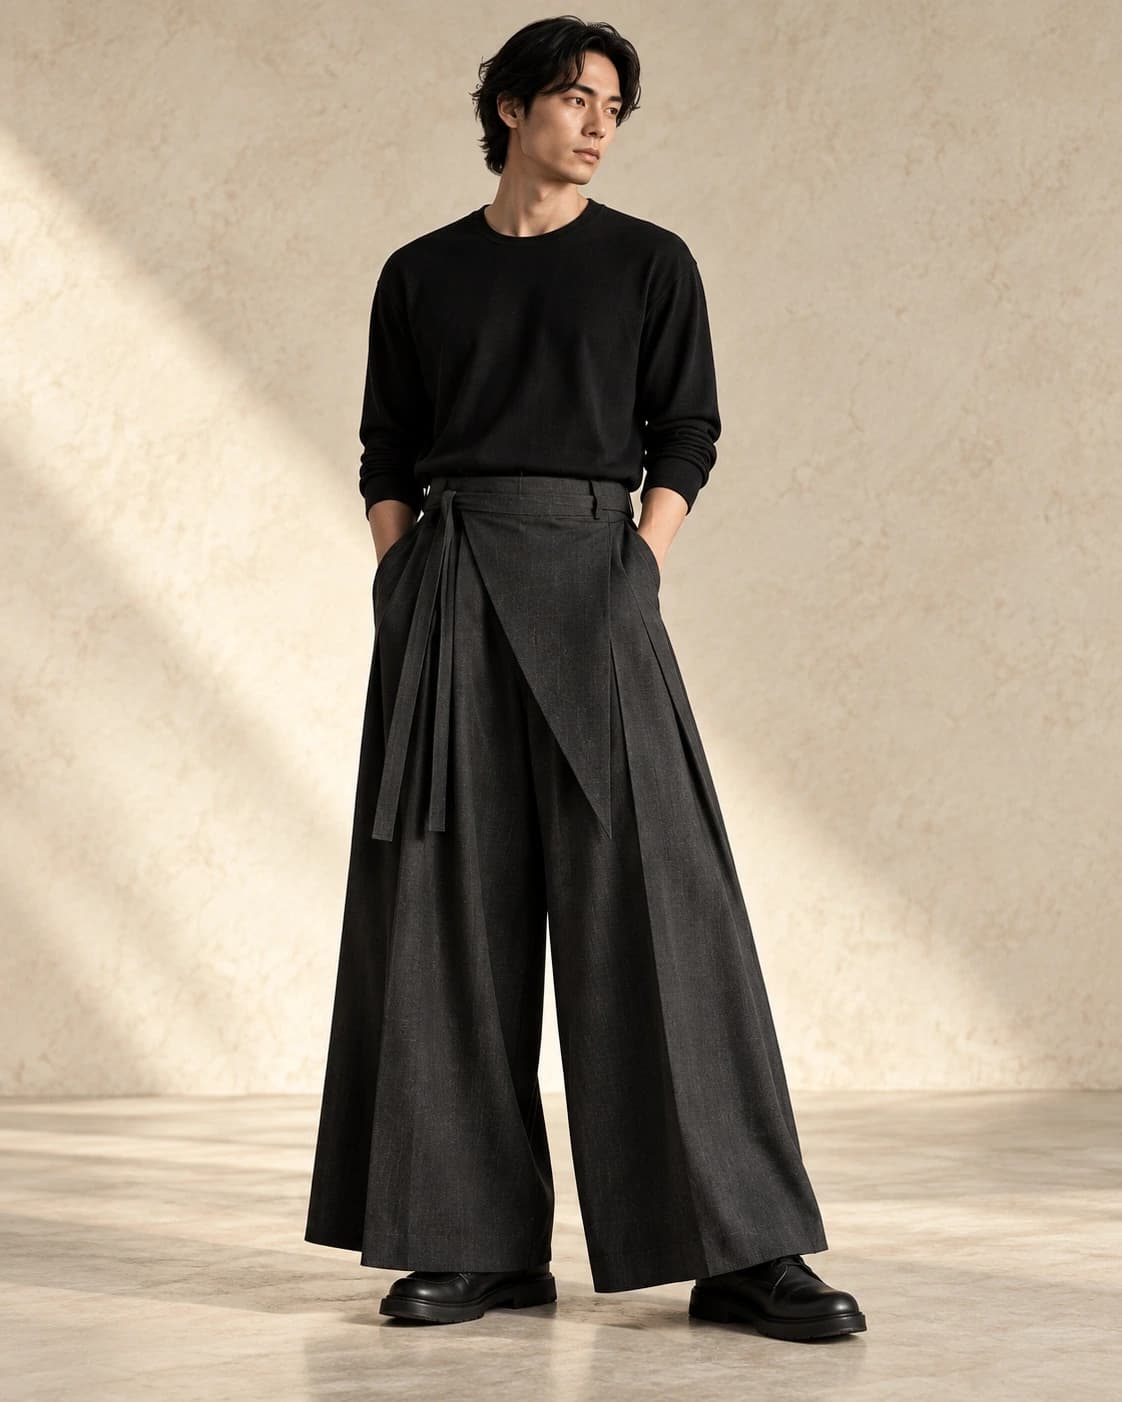
The andon, or skirt-style hakama, is a single tube like a skirt. Step into the single tube, ensuring the front panel is facing forward, and follow the general steps for tying the ties. The store's Andon Skirt-Style Hakama in charcoal is an undivided silhouette with a structured waist and cascading pleats.
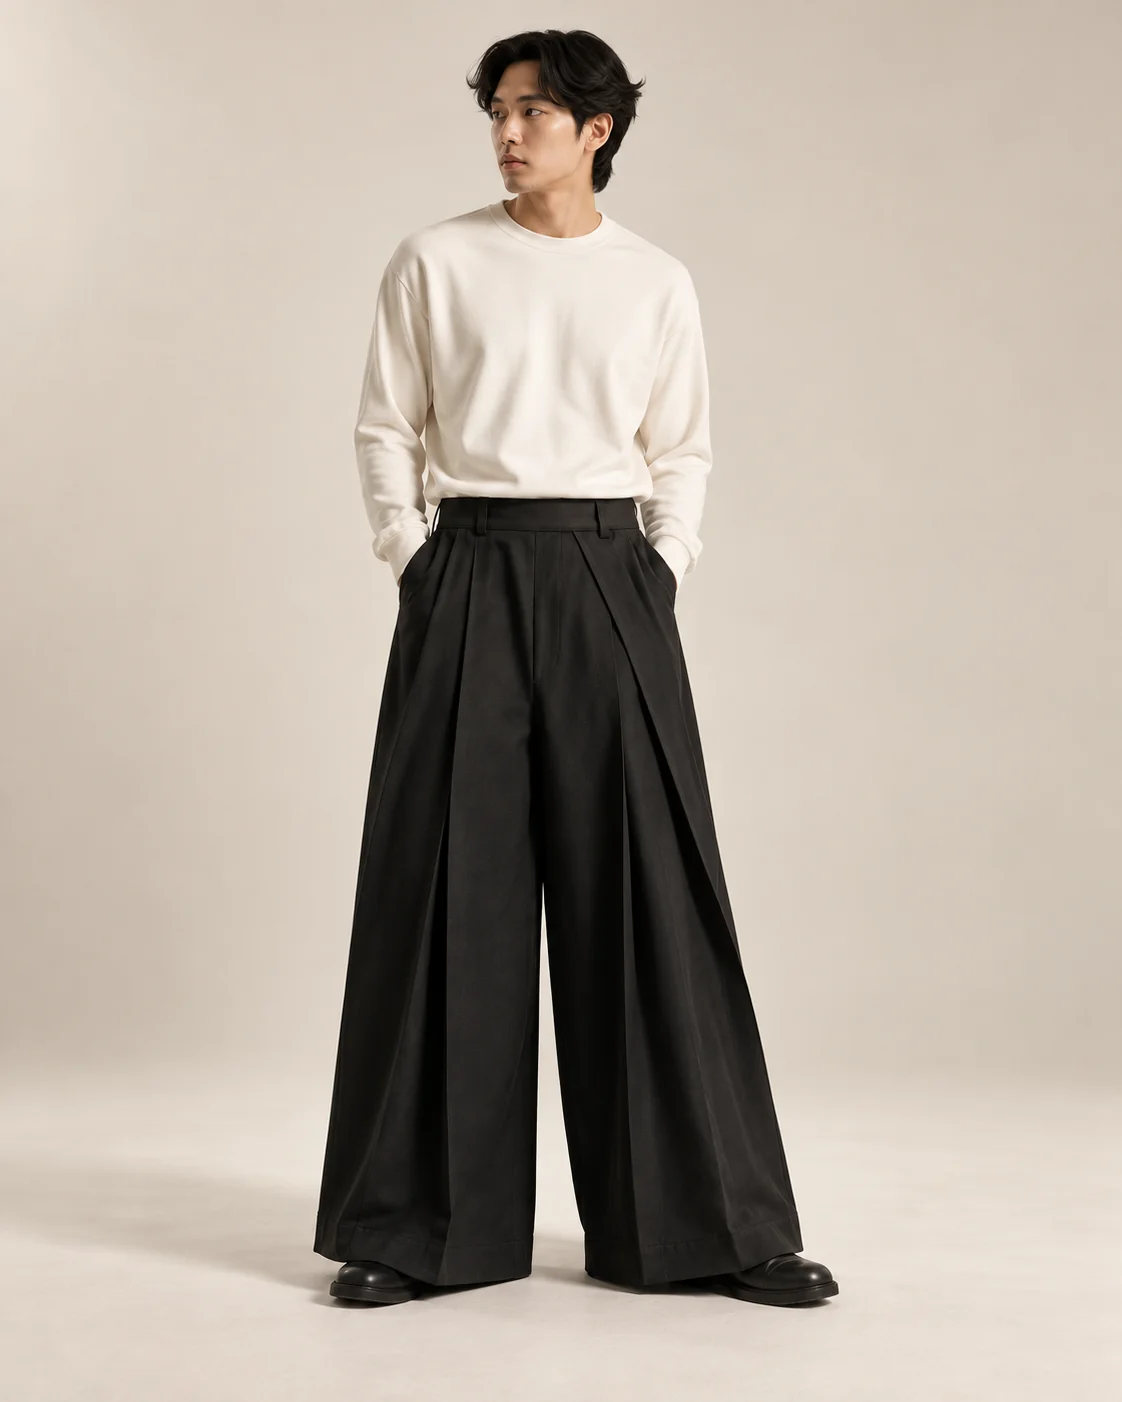
Modern hakama pants often have a fixed or elastic waistband or a shortened tie, so check the product page for the fastening before you assume there is anything to tie.
The store also lists a Basic Tetron Japanese Hakama in black. This practice-oriented divided-leg design has crisp multiple pleats and a tie waist, available in sizes S to XXL. On any listing, read the stated form and the fastening before rehearsing the steps.
Common mistakes and how to fix them
Stepping on the hem can be avoided by raising the front panel a little before tying and checking the length against your own measurements before ordering. If the front panel is tied too high or too low, adjust the position of the front ties to ensure the hakama sits correctly. If the himo work loose, pull each crossing flat and snug before knotting and keep the ties flat instead of twisted.
The back board slides down during movement. Seat it on the knot of the front ties, tuck the small tab behind the belt if the hakama has one, and draw the back ties forward and slightly downward before knotting. This keeps the board in place.
The hem hangs lower on one side. Centre the front panel on the body and pull both ties with equal tension. Check in a mirror to ensure the hem is even. This prevents an uneven appearance.
Twisted ties can create a ridge and loosen sooner. Flatten each tie along its whole length as it wraps. This ensures a smooth, secure fit and prevents the ties from coming loose.
The jacket can bunch at the side openings. Pull the jacket hem down through the openings after tying. This keeps the jacket smooth and prevents discomfort and an untidy look.
Taking it off and folding it
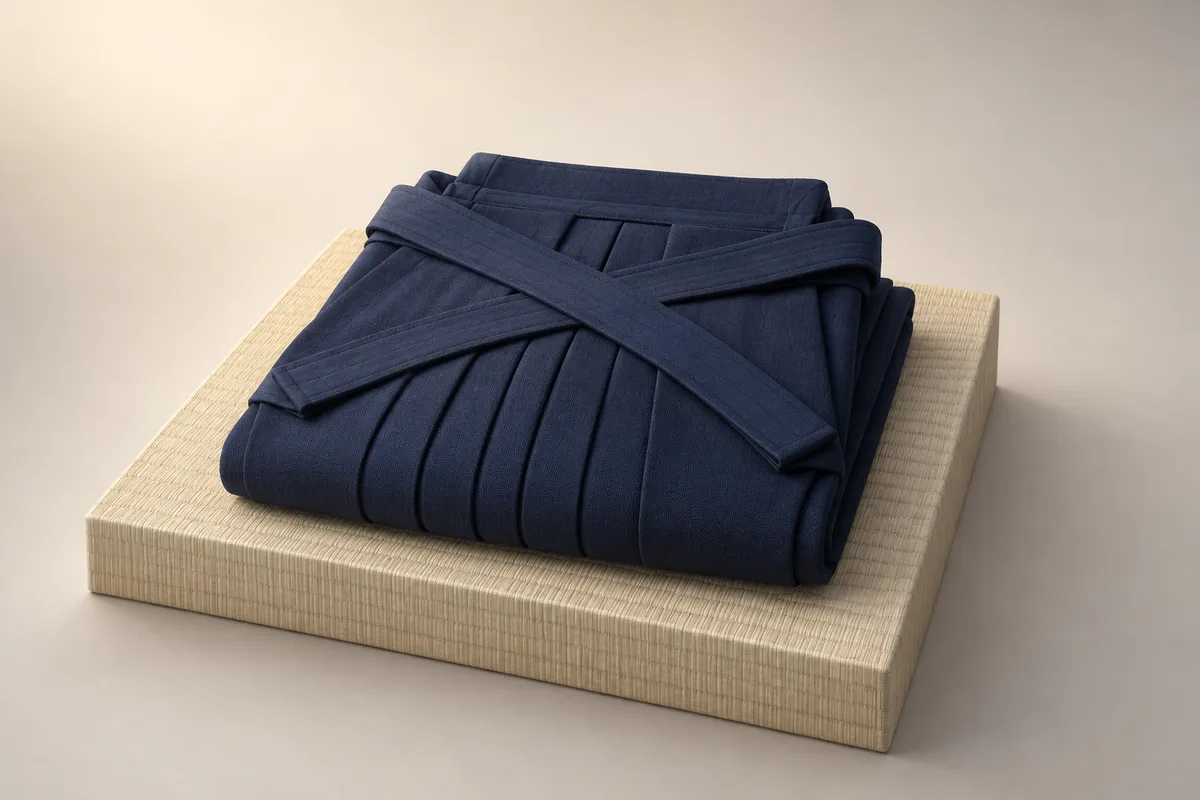
Properly removing and folding your hakama is just as important as putting it on. Untie the back ties at the front, then lower the koshiita, and untie the front ties at the back. Lay the hakama flat, line up the back pleats, then the front pleats, fold the sides in, fold the length in thirds, and fold the ties into a bundle on top. Folding along the existing pleats after every wear is what keeps them.
Fold the hakama on a clean flat surface. Smooth the back pleats first because they are hidden once the hakama is turned over. Then smooth the front pleats, running a hand from waist to hem. A crease pressed across a pleat is hard to remove. Fold the ties flat, never winding them tightly. For washing, drying, and storage, follow the garment's own care label and the site guide on folding and storing a hakama.
Frequently Asked Questions
How to wear a hakama aikido?
To wear a hakama for aikido, start by putting on your keikogi and obi. Step into the hakama, ensuring the front panel is facing forward. Wrap the long front ties around your back, cross them, and tie them securely at the back. Place the koshiita against the small of your back, tuck the tab behind the obi if present, and tie the back ties at the front. Adjust the pleats to ensure they are even and the hem hangs straight. Many schools only allow the hakama from a certain rank, and kneeling practice makes a level hem crucial.
How to wear hakama iaido?
Wearing a hakama for iaido follows the same basic steps as other martial arts. Put on your keikogi and obi first. Step into the hakama, ensuring the front panel is facing forward. Wrap the long front ties around your back, cross them, and tie them securely at the back. Place the koshiita against the small of your back, tuck the tab behind the obi if present, and tie the back ties at the front. Smooth out the pleats and adjust the hem to ensure a neat appearance. The obi is crucial because the scabbard is carried through it under the hakama ties.
How to put on kendo hakama?
To put on a kendo hakama, start by putting on your keikogi and obi. Step into the hakama, ensuring the front panel is facing forward. Wrap the long front ties around your back, cross them, and tie them securely at the back. Place the koshiita against the small of your back, tuck the tab behind the obi if present, and tie the back ties at the front. Adjust the pleats to ensure they are even and the hem hangs straight. The hakama goes over the kendogi, and the waist protector of the armour is tied over it afterwards. Clubs often teach their own knot styles.
How to wear hakama pants?
Wearing hakama pants, especially modern styles with a fixed waistband, is straightforward. Step into the hakama pants, ensuring the front panel is facing forward. Adjust the waistband to fit comfortably around your natural waist. Smooth out the pleats on the front and back panels to ensure they are even and the hem hangs straight. For traditional divided-leg (umanori) or skirt-style (andon) hakama pants, follow the general steps for tying the front and back ties securely. Adjust the pleats and hem as needed for a neat appearance. Check the product page for specific fastening instructions.
How to wear kimono and hakama?
To wear a kimono and hakama, start by putting on the kimono and tying it with a narrow obi. Ensure the kimono is smooth and the obi is securely tied. Step into the hakama, ensuring the front panel is facing forward. Wrap the long front ties around your back, cross them, and tie them securely at the back. Place the koshiita against the small of your back, tuck the tab behind the obi if present, and tie the back ties at the front. Adjust the pleats to ensure they are even and the hem hangs straight. For formal occasions, such as graduations, consult a kimono specialist or your instructor for additional guidance.
Conclusion
Mastering how to wear a hakama correctly ensures you can participate in martial arts, formal events, or traditional styles with confidence. By following the universal steps and understanding the variations by school or occasion, you can wear your hakama with ease. Fold it along the pleats after each wear, and compare the divided and undivided designs in the traditional hakama collection before you choose a form.