
To tie a hakama, wrap the long front ties around your waist, cross them at the back, bring them forward and tie them below the navel. Then set the back board above the belt, bring the shorter back ties to the front and finish with a flat knot or bow, as your school teaches. This guide to how to tie a hakama goes through each tie in order and common variations.
Key Takeaways
- Front ties first: The front pair is long and does most of the work.
- Cross low: The front ties are brought forward and crossed low at the front, below the top edge of the front panel.
- Back board on the knot: The koshiita is positioned above the obi and on top of the knot.
- Back ties to the front: The back ties are brought forward and crossed over the front ties.
- Flat knot: A flat knot holds better than a twisted one.
The four ties and what each one does
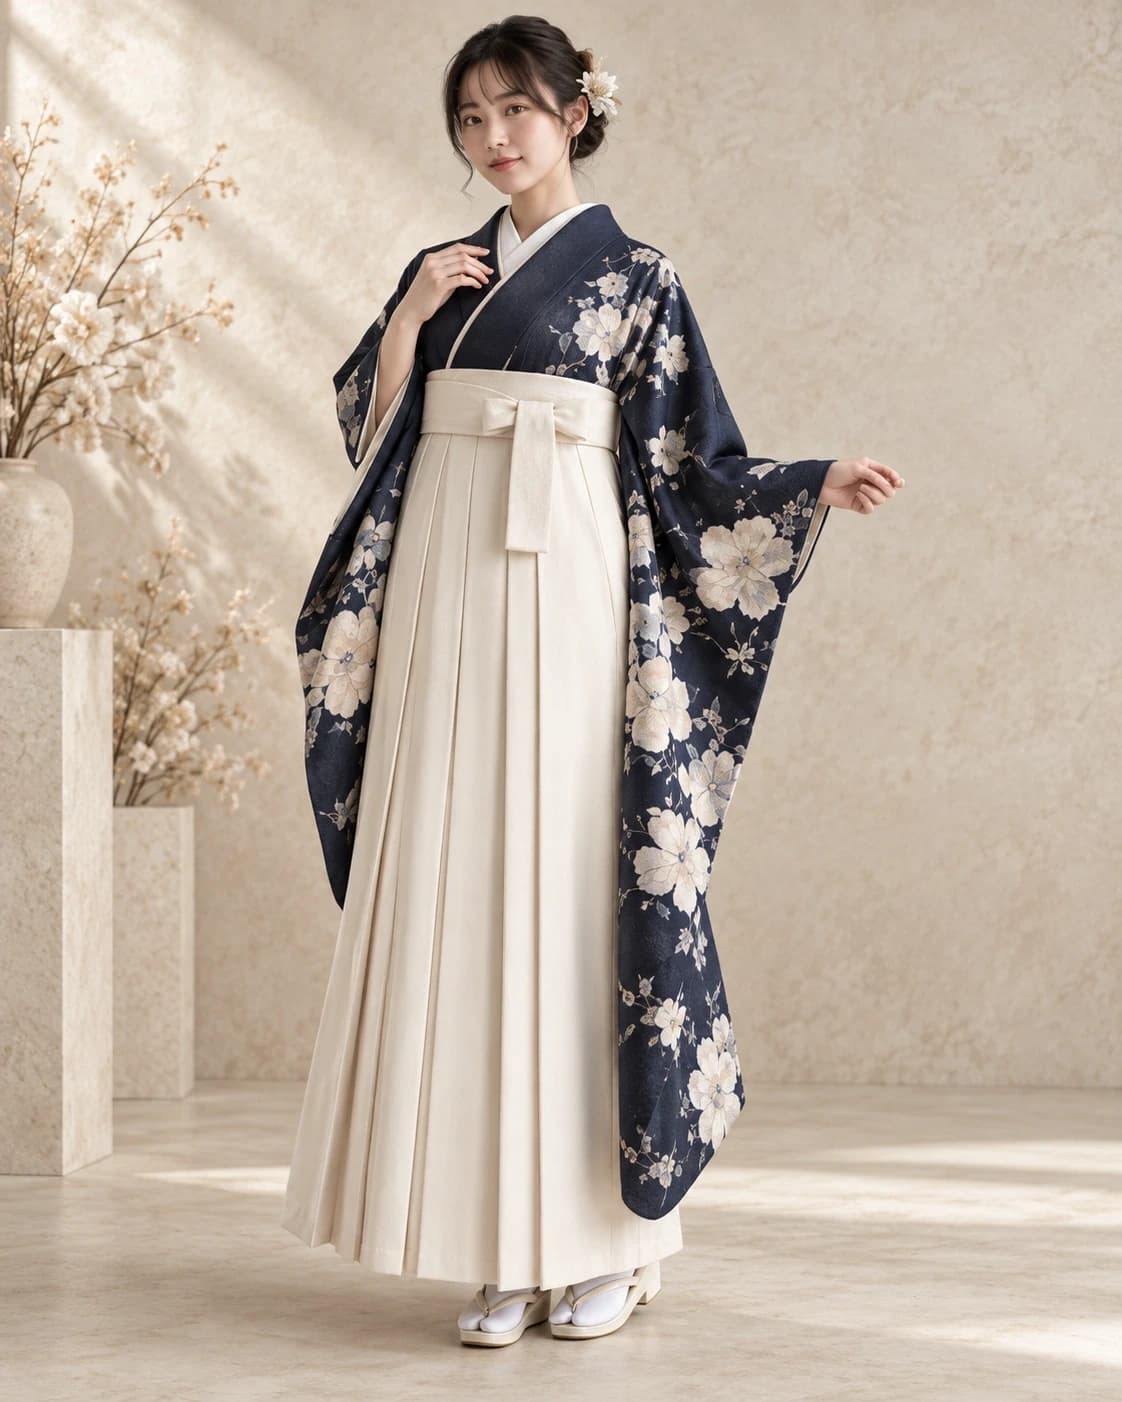
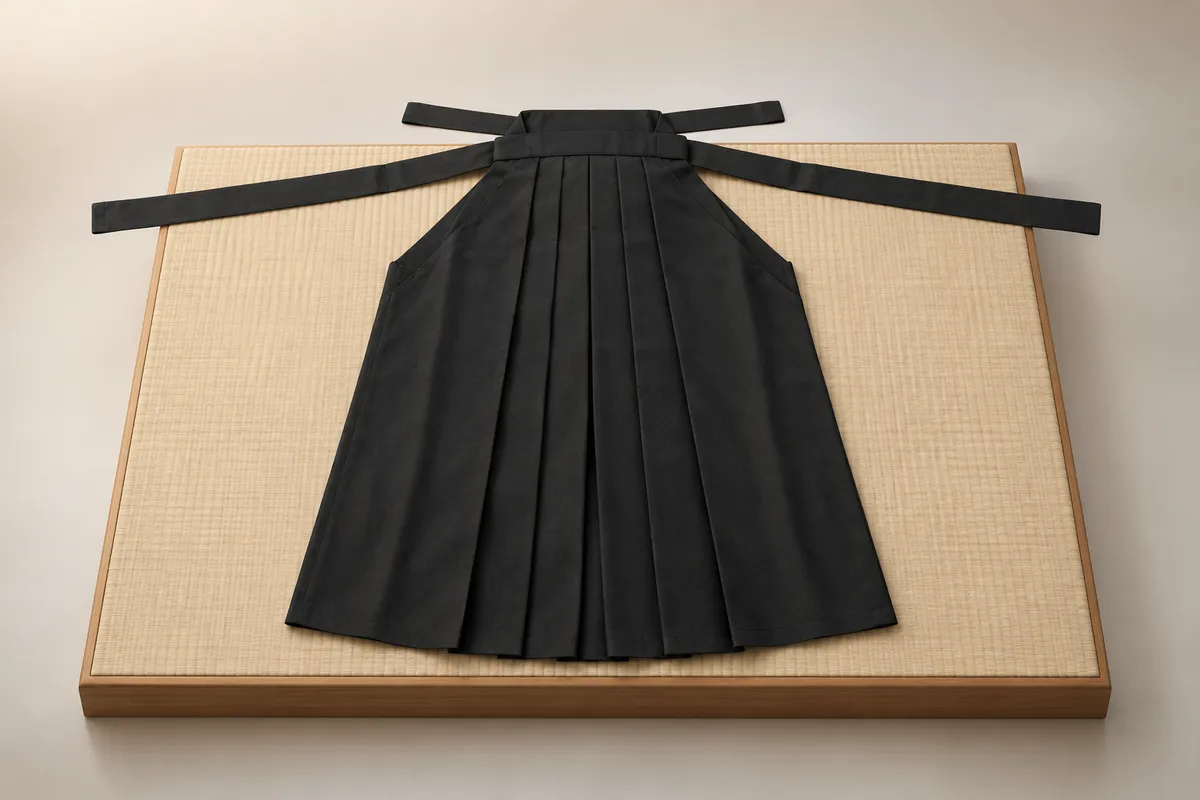
A hakama has four ties, known as himo. Two long ties are attached to the front of the hakama, and two shorter ties are attached to the back beside the koshiita. The front ties are crucial for securing the hakama around the waist and ensuring it stays in place. The back ties help to secure the koshiita and provide additional stability. Flat ties hold better than twisted ones, and the ties go over the belt (obi) worn with the jacket.
In Japanese, the front ties are called mae-himo, and the back ties are ushiro-himo. The stiff board at the back waist is the koshiita. Some hakama have a small tab on the inside of the koshiita that tucks behind the belt for added security. Knowing these terms makes it easier to follow a teacher's instructions.
Before tying, lay the hakama out and run each tie through the fingers so it is flat. This ensures the ties, called himo, are smooth and even, making the final knot neat and secure. The site glossary has an entry for the word.
Step 1: wrap and cross the front ties
- Hold the front panel at the waist so its top edge sits at the belt line.
- Take both front ties around to the back and cross them over the belt knot.
- Bring them forward and cross them low at the front, below the top edge of the front panel.
- Finish them: depending on the length of the ties and what the school teaches, they are taken to the back again and tied there, or tied in a small flat knot low at the front below the navel.
Crossing the ties low is crucial because it holds the front panel up and prevents it from slipping. Lay each wrap flat beside the previous one to avoid rolling layers. The order of which tie goes over the other varies between schools. Maintain light tension all the way around to hold the hakama in place without pulling the jacket out of alignment.
The position of the front panel decides the hem: higher at the waist lifts the hem, lower drops it. Set this before wrapping. Pull each crossing snug as it is made, because a loose first wrap cannot be fixed by a tight knot later. The pillar guide on how to wear a hakama covers what goes on before the ties.
Step 2: set the back board
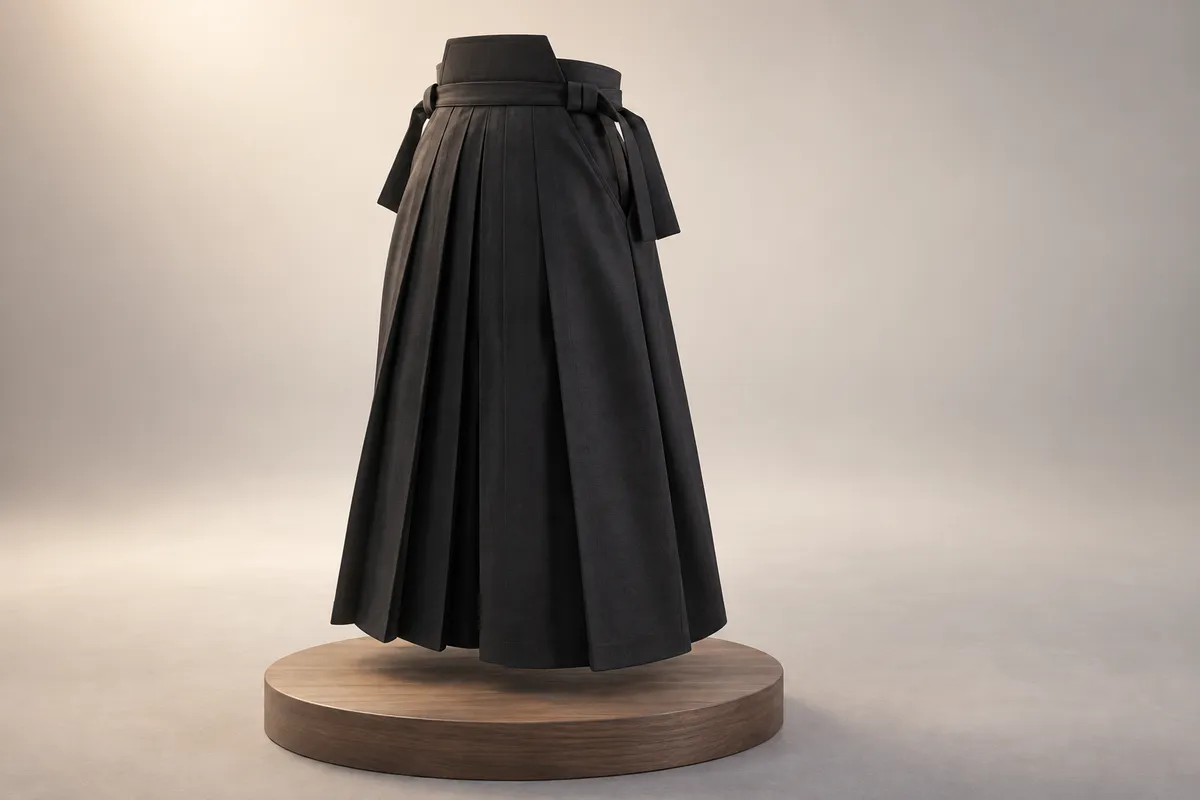
Lift the back panel. If the hakama has a small tab inside the koshiita, tuck it behind the belt. Seat the koshiita against the small of the back on top of the knot or belt knot.
The koshiita should sit flat and centred. If it tilts, the back ties were pulled unevenly. The back of the hakama then sits slightly higher than the front, which is normal.
Step 3: bring the back ties forward and finish the knot
- Bring the back ties forward along the waist.
- Cross them at the centre front over the front ties.
- Pass one under all the layers and knot.
- Choose the flat knot or the bow your school teaches; tuck the loose ends under the wrapped ties.
After the back ties cross at the centre front, pass one tie up behind all the wrapped layers from below and pull it through to gather everything. Flatten this gathered part. Then, tie the two ends with a square knot (right over left, then left over right) or a bow, as taught. Tuck each end sideways under the wrapped ties to keep everything neat and flat against your body.
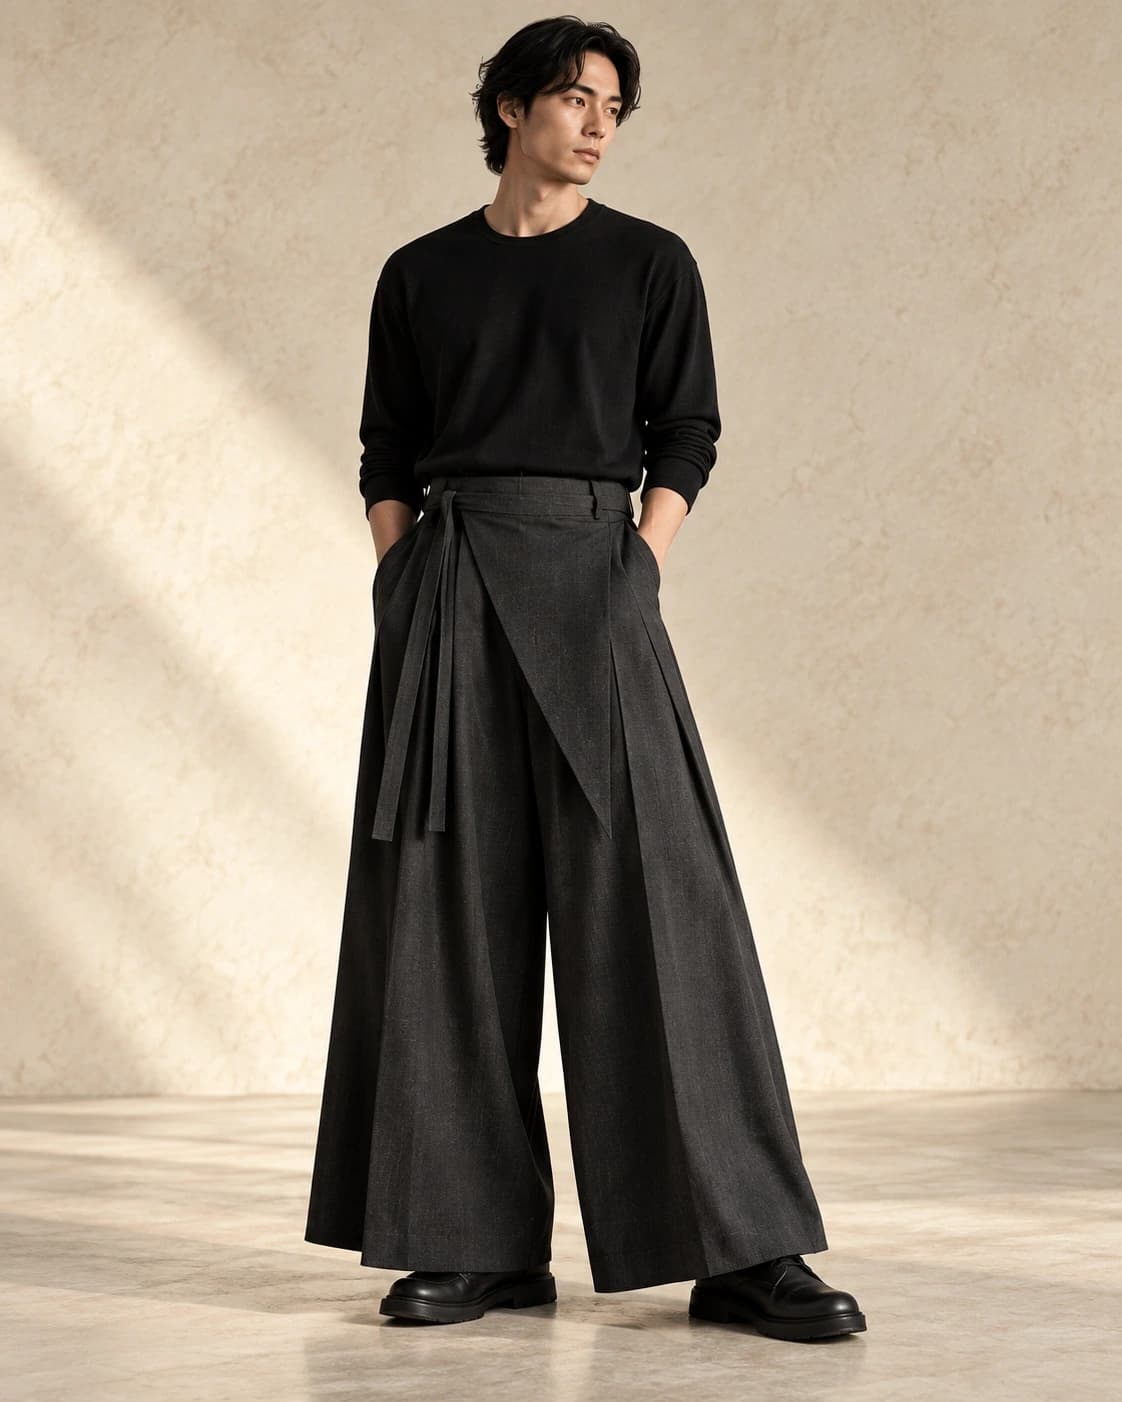
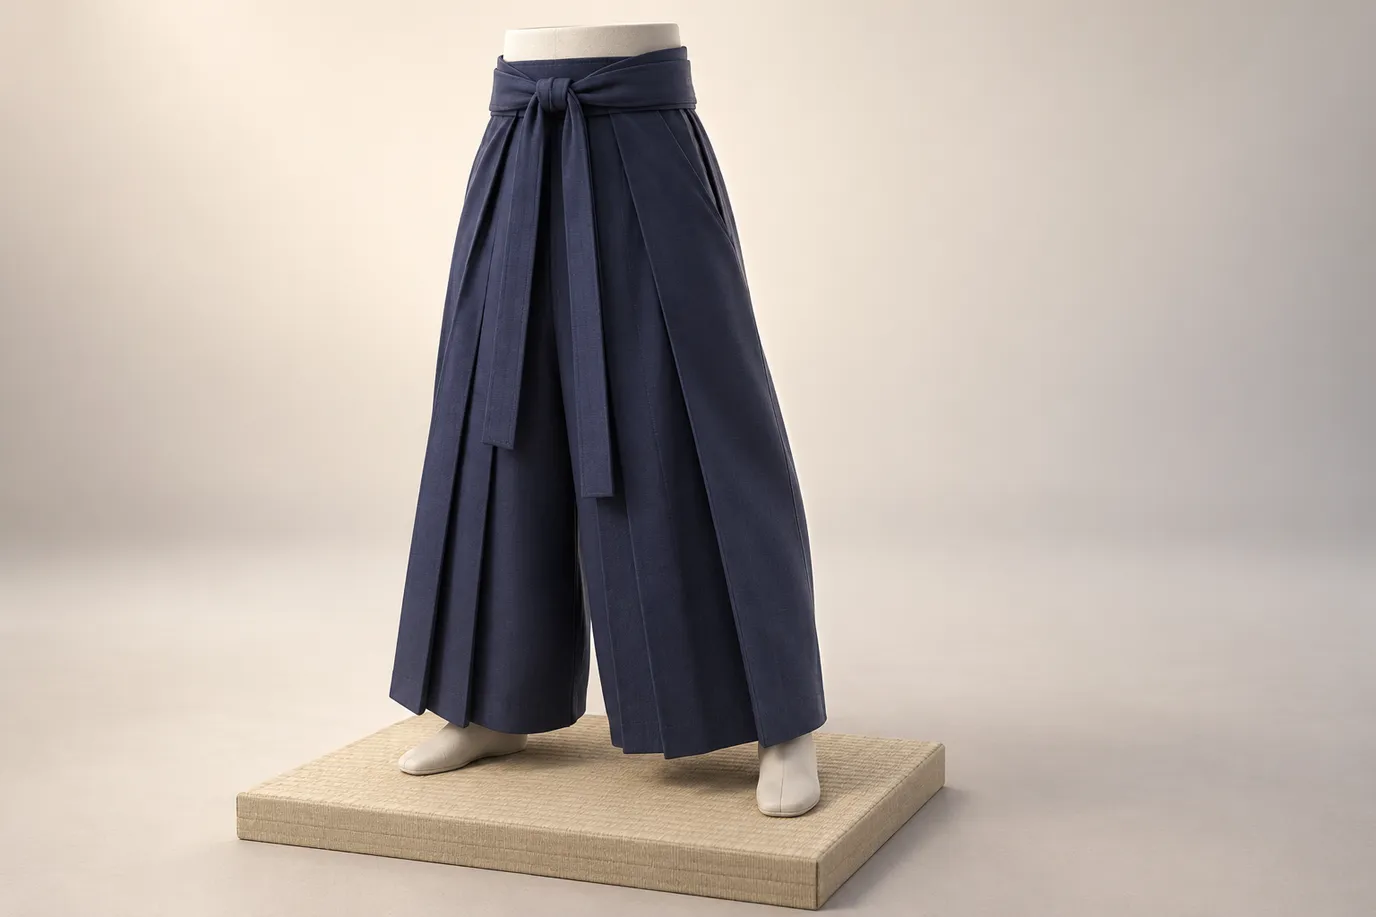
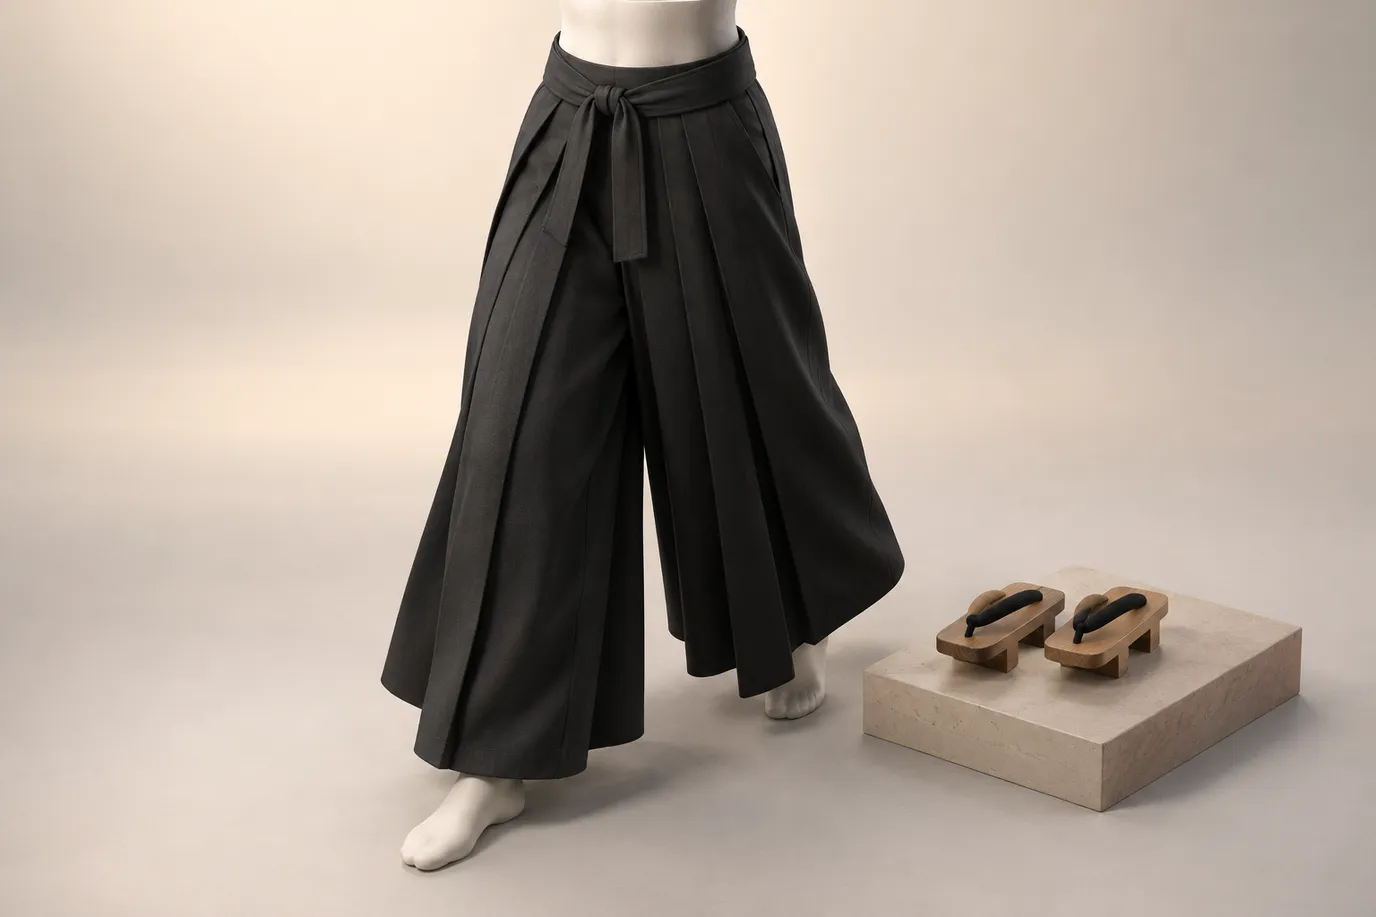
The store lists an Aikido Tetron Hakama in deep navy, a traditional-style wide design with a tie waist and ordered pleats, and a Kendo / Iaido Tetron Hakama in black, a practice-oriented wide design with straight pleats and a tie waist. Tie length is not stated in the catalogue, so check the product page and do not assume how many times the ties will wrap.
Knot styles you will see in aikido, kendo and iaido
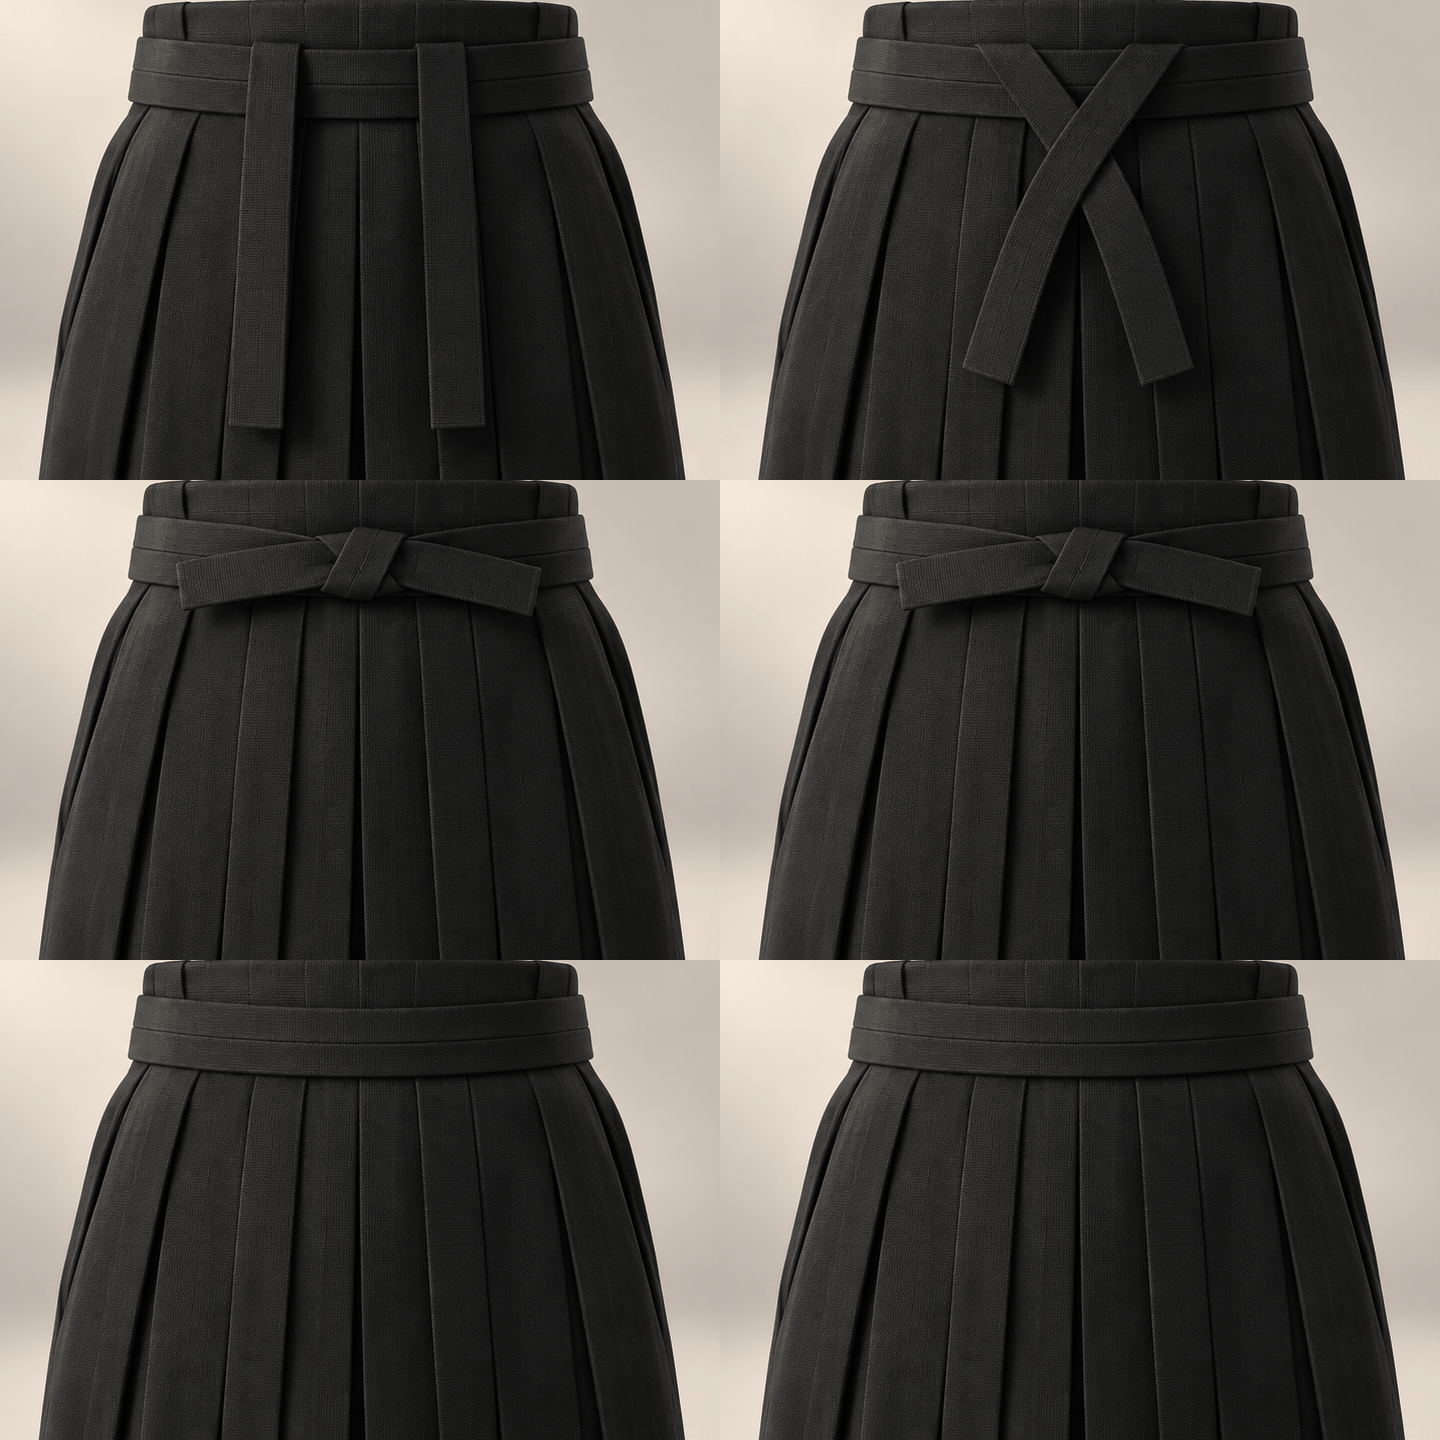
Three finishes are commonly seen: a flat square knot with the ends tucked, a bow, and a formal cross-shaped knot used with formal dress. Which one is used depends on the school and the occasion, not on the art as such. In kendo, a flat finish is practical because the waist protector of the armour is tied over it. In aikido, a flat finish does not press in rolls. In iaido, the knot must not get in the way of the scabbard carried in the belt. Always copy what seniors do.
Practise the knot at home a few times before the first class. A bow is quick to undo, a flat square knot stays put. Whichever is used, the loose ends are tucked so nothing trails. Formal dress has its own knots and a dresser usually ties them.
Why the knot comes loose and how to fix it
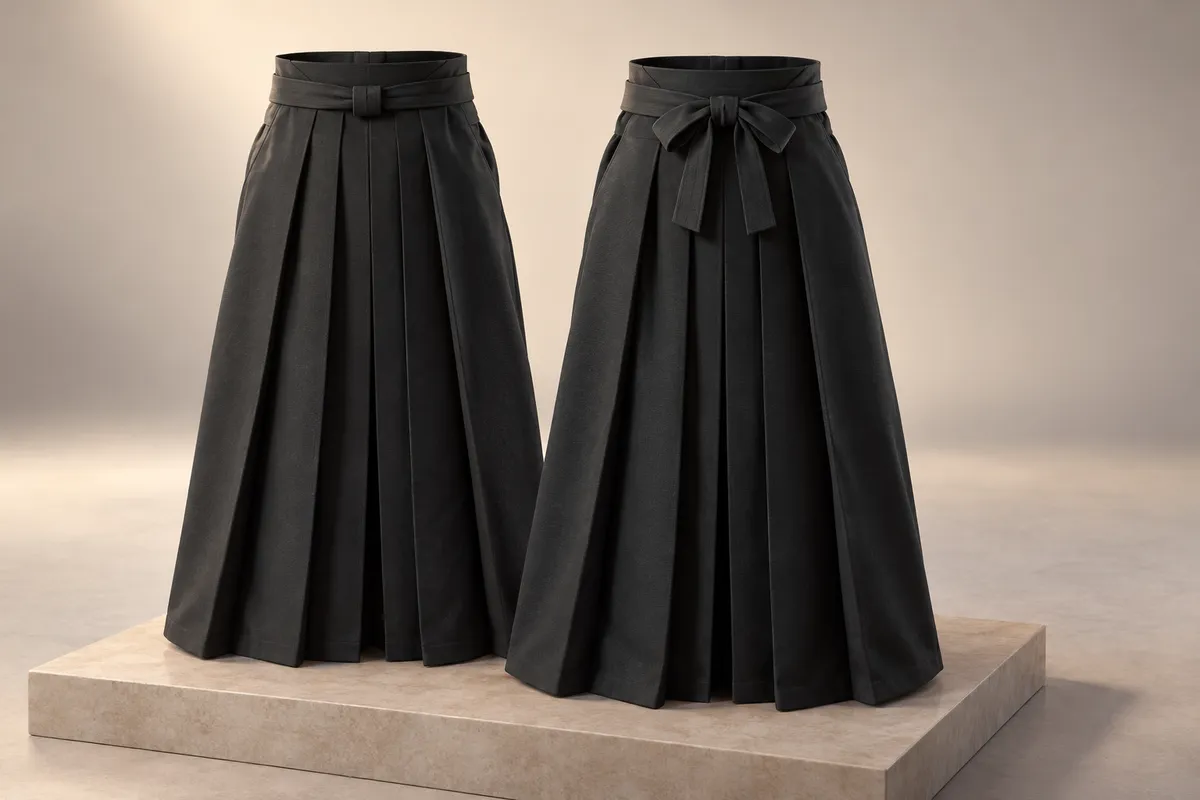
A common issue when tying a hakama is the knot coming loose. This can happen for several reasons. Twisted ties can come loose more easily, so ensure the ties are laid flat against your body before tying. Crossings not pulled snug before knotting can also cause the knot to come loose, so make sure each crossing is tight. The koshiita should be positioned above the obi; if it is too low, it can cause the hakama to shift and the knot to come loose. Ties wrapped over a loose belt can also come loose, so ensure the belt is snug. A slippery knot tied as a granny knot instead of a square knot can also come loose, so a square knot is the safer choice.
Check the knot after the warm-up, when cloth has settled. Retying once early is normal for beginners. New ties are stiffer and slip more until they soften with use.
Tying modern hakama pants
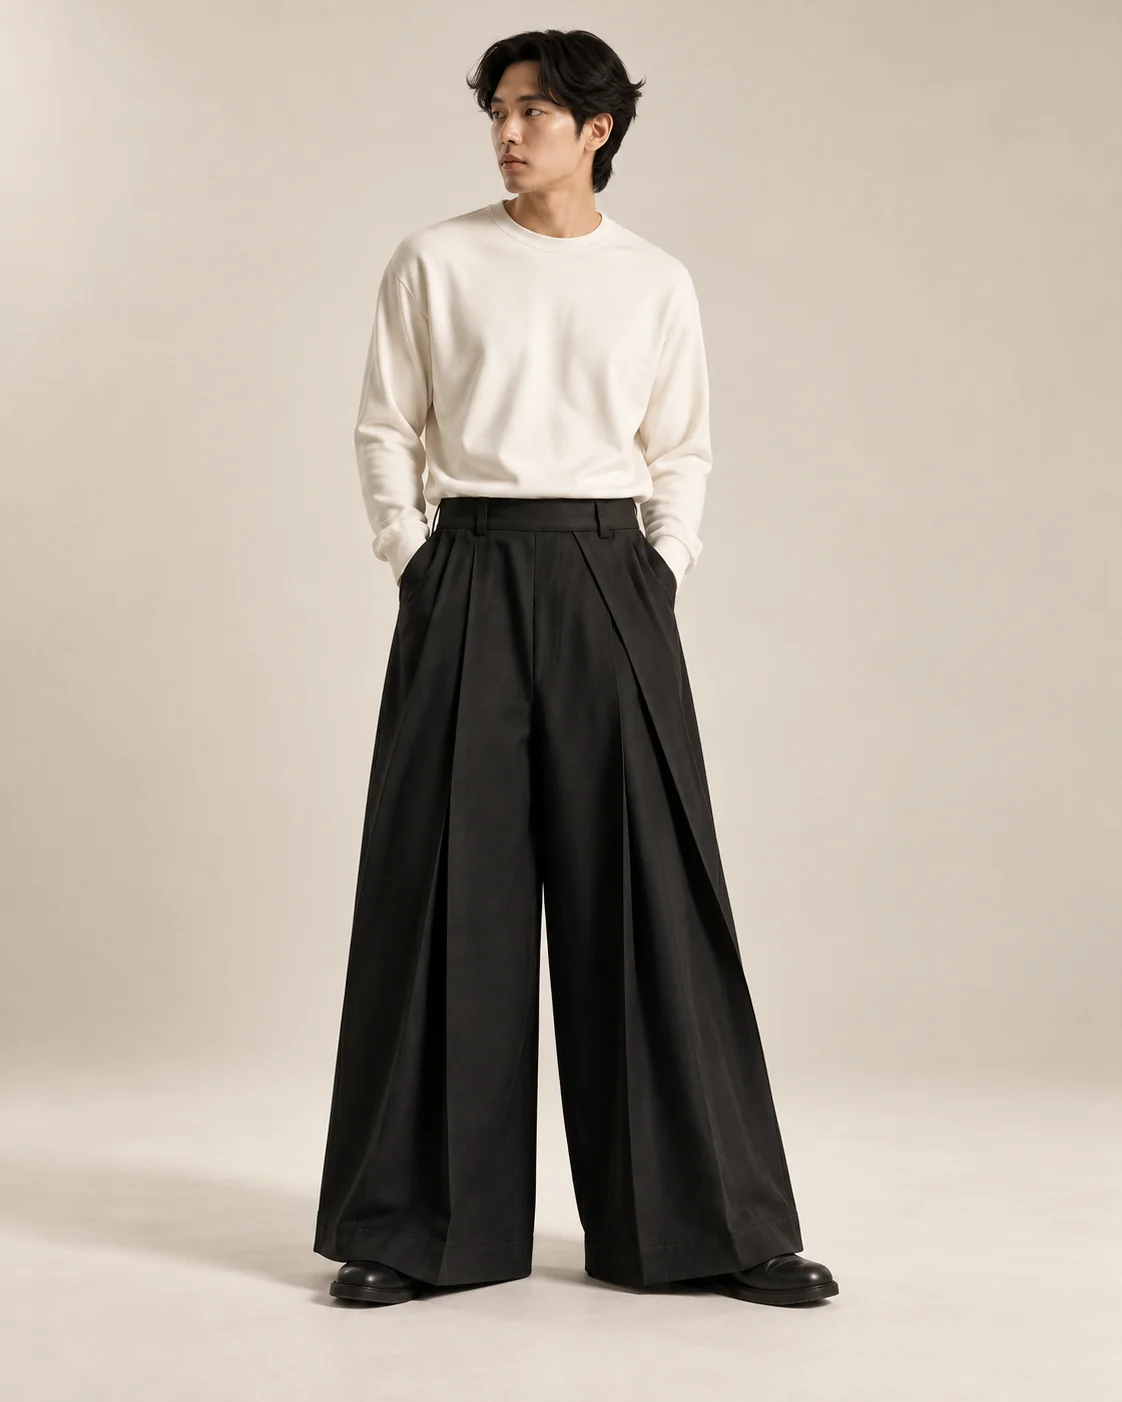
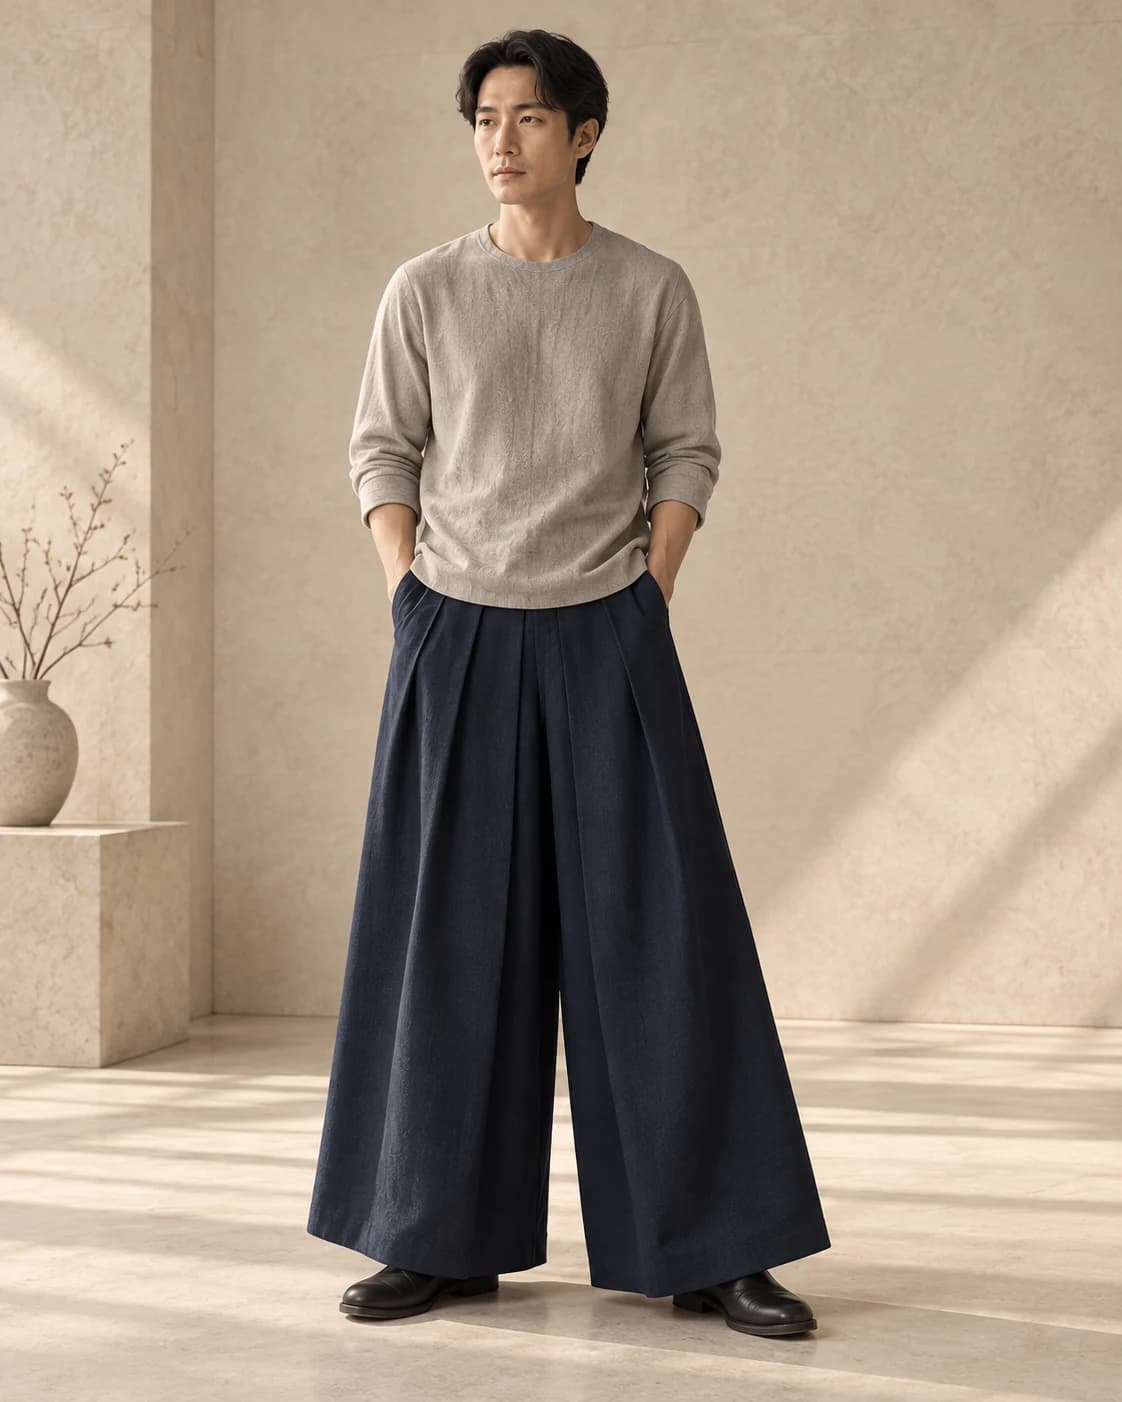
Many fashion hakama pants have an ordinary or elastic waistband, a wrap waistband, or shortened decorative ties, so there may be nothing to tie. Check the fastening on the product page. Where real ties exist, the same order applies: wrap the front ties around your waist, cross them at the back, bring them forward, and tie them below the navel. Position the back board above the obi and bring the back ties to the front, crossing them over the front ties and tying a secure knot.
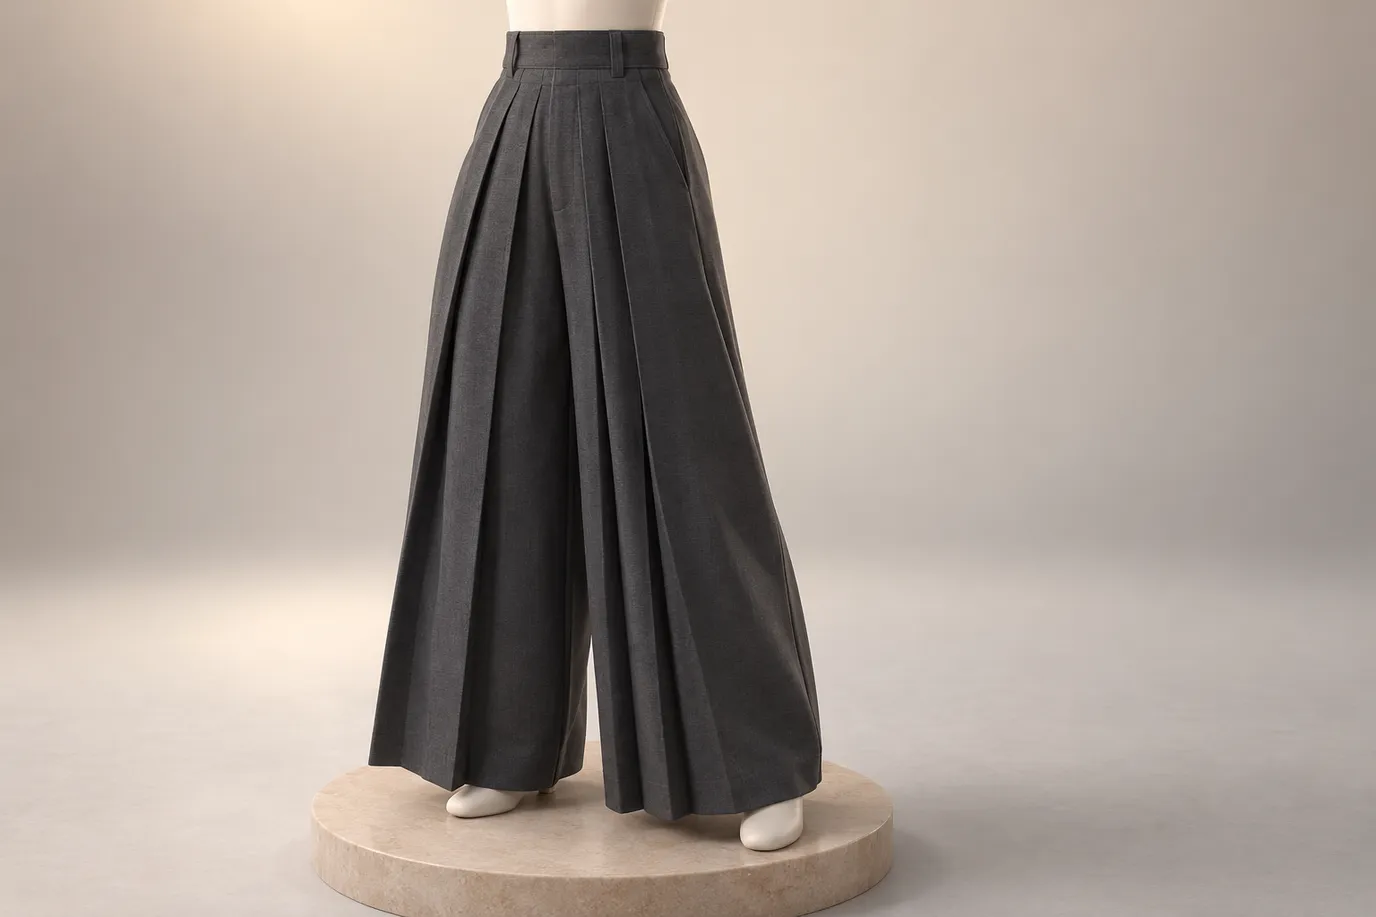
The store lists an Umanori Divided-Leg Hakama in deep navy, a traditional-style divided-leg silhouette with a tie waistband and measured pleats.
The designs with tie waists are grouped in the martial arts hakama collection.
Frequently Asked Questions
How to tie a hakama aikido?
To tie a hakama for aikido, start with the front ties. Cross them to the back, over the belt knot, then bring them forward and cross them low. Finish at the back or low at the front as your dojo teaches. Place the koshiita on the small of your back. The back ties go forward and are knotted flat at the centre front. A flat finish prevents discomfort during rolls. Follow the example of seniors in your dojo.
How to tie a hakama for iaido?
To tie a hakama for iaido, start by tying the belt (obi) firmly around your waist. The scabbard is carried in the belt, so it must be secure. Next, wrap the hakama ties over the belt. Follow the same order of ties as in other martial arts. Keep the final knot clear of the left hip where the scabbard sits. Different iaido groups may have varying knot styles, with some formal demonstrations using a cross-shaped knot. Always follow the specific instructions of your group.
How to tie a hakama kendo?
To tie a hakama for kendo, follow the same order of ties as in other martial arts. The final knot is kept flat because the waist protector of the armour (tare) is tied over it, and a bulky knot presses into the body. Tuck the ends of the ties neatly. Many kendo clubs teach a standardized method so everyone looks uniform in line. Always check with your club for the specific way they prefer the hakama to be tied.
How to tie hakama pants?
To tie hakama pants, most fashion hakama pants do not require a knot as they have an ordinary, elastic, or wrap waistband. If there are shortened decorative ties, tie them in a simple bow or flat knot at the front. Always check the fastening details on the product page before ordering. If your hakama pants have full-length ties, follow the traditional order of tying.
How to tie a hakama for aikido?
Common beginner mistakes when tying a hakama for aikido include twisted ties, loose crossings, the koshiita sitting below the knot instead of on it, a bulky knot, and trailing ends. To fix these, ensure ties are not twisted, crossings are tight, the koshiita is correctly positioned, the knot is flat, and the ends are tucked in neatly.
Conclusion
How to tie a hakama comes down to four things: start with the front ties, place the koshiita on the knot, bring the back ties to the front, and finish with a flat knot. The specific details belong to your school. Practise at home to perfect your technique.